How to Waterproof a Bathroom Floor Without Removing Tiles – Complete 2025 Guide
Waterproofing your bathroom is one of the smartest things you can do to protect your home from moisture damage, mold, and leaks. But many homeowners are hesitant because they think they’ll need to tear up their entire floor. The good news? You can waterproof a bathroom floor without removing tiles.
In this guide, we’ll show you how to waterproof a bathroom floor without removing tiles, step-by-step. We’ll also explore the best products, methods, and tips to get lasting results—without the mess or expense of a full renovation.

🚿 Why Waterproofing Your Bathroom Floor Is Essential
Bathrooms are high-moisture areas. Every time you take a shower or use the sink, water can seep into the floor. If the floor isn’t sealed properly, it can:
Lead to dampness and bad smells
Cause mold and mildew to grow
Damage the subfloor and structure
Lead to expensive repairs
That’s why knowing how to waterproof a bathroom floor without removing tiles can save you time, money, and stress.
🧱 Can You Really Waterproof Bathroom Tiles Without Removing Them?
Yes, you absolutely can. Thanks to modern waterproofing solutions like clear sealants, waterproofing membranes, and epoxy coatings, it’s now possible to seal your bathroom floor without removing any tiles.
This method works especially well for:
Bathrooms with existing ceramic or porcelain tiles
Rental properties where major renovations aren’t allowed
Budget-conscious homeowners
🧰 Materials You’ll Need
Before we dive into how to waterproof a bathroom floor without removing tiles, here’s what you’ll need:
Tile cleaner or degreaser
Grout sealer
Waterproofing membrane (liquid or sheet)
Waterproofing primer
Paint roller or brush
Silicone caulk (for edges)
Epoxy or polyurethane clear coating (optional)

🔨 Step-by-Step: How to Waterproof a Bathroom Floor Without Removing Tiles
Let’s walk through the process step by step:
Step 1: Clean the Floor Thoroughly
Before anything else, scrub the bathroom floor with a tile cleaner or degreaser. Remove soap scum, dirt, and mold. Make sure the surface is completely dry before moving on.
Why this matters: A clean surface ensures that the waterproofing materials bond properly with the tile surface.
Step 2: Check and Repair Grout Lines
Inspect the grout between the tiles. If you see cracks, holes, or missing grout, repair them using a grout filler. Allow it to cure for at least 24 hours.
Pro Tip: If your grout is old, consider regrouting the floor for better waterproofing.
Step 3: Apply a Grout Sealer
Once the grout is cured, apply a high-quality penetrating grout sealer. This will help prevent water from seeping through the grout lines.
Apply with a brush or sponge and wipe off excess from the tile surface.
Step 4: Use Liquid Waterproofing Membrane
This is a crucial step in how to waterproof a bathroom floor without removing tiles. Apply a liquid waterproofing membrane over the entire floor using a roller or brush.
Make sure you cover corners and edges well.
Let the first coat dry, then apply a second coat for stronger protection.
Step 5: Seal Edges and Joints with Silicone Caulk
Use waterproof silicone caulk around the bathroom’s edges—where the floor meets the walls, under the toilet, and around drains. This prevents water from sneaking into cracks and corners.
Step 6: Optional – Apply a Clear Waterproof Top Coat
For extra protection, apply an epoxy or polyurethane clear coat over the tiles. This acts as a strong waterproof barrier and gives your floor a glossy finish.
It’s especially useful if you’re dealing with high foot traffic or heavy water exposure.
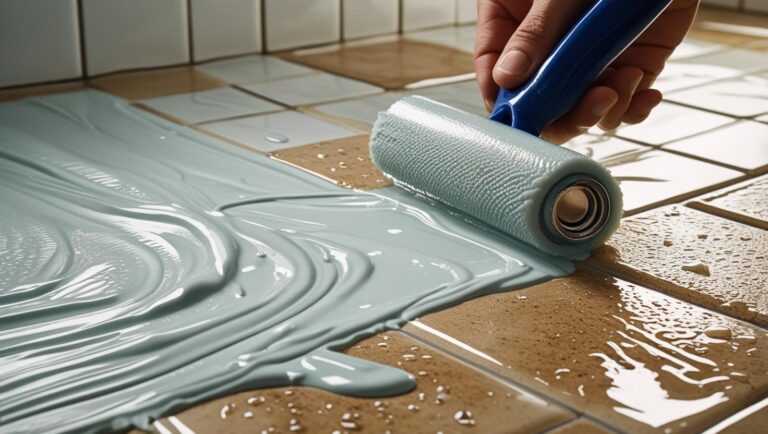
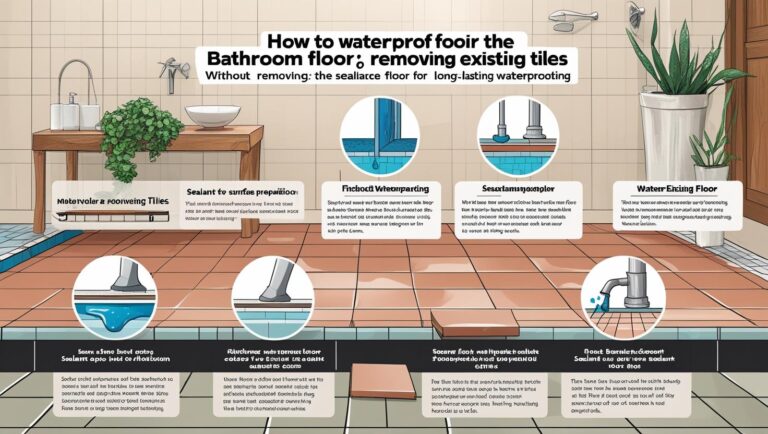
Best Products for Waterproofing Bathroom Floors Without Removing Tiles
Here are some trusted products available in India and internationally:
Dr. Fixit Bathseal Kit
Asian Paints SmartCare Bathroom Waterproofing
Mapei Mapelastic AquaDefense
LATICRETE Hydro Ban
Sika Waterproofing Sealants
Fevicol Waterproof Tile Adhesive (for minor repairs)
Make sure you read the label and choose products that are compatible with existing tile surfaces.
Cost of Waterproofing Bathroom Floor Without Removing Tiles (India 2025)
Item/Service | Approximate Cost |
---|---|
Grout Sealer | ₹100 – ₹300 per 500ml |
Waterproof Membrane | ₹40 – ₹100 per sq. ft. |
Clear Epoxy Coating | ₹60 – ₹150 per sq. ft. |
Labor (optional) | ₹20 – ₹50 per sq. ft. |
Total DIY cost: ₹2,000 – ₹6,000 for an average-sized bathroom
Professional cost: ₹5,000 – ₹12,000 depending on size and service
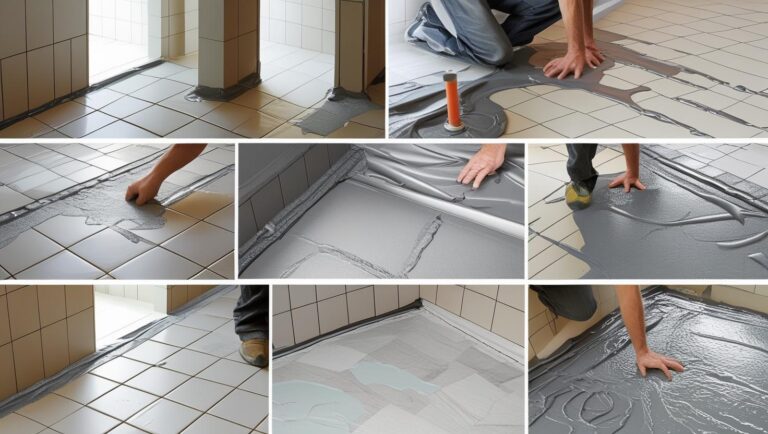
Benefits of Waterproofing Without Removing Tiles
Now that you know how to waterproof a bathroom floor without removing tiles, here are some key benefits:
Saves Time: No need to demolish or reinstall flooring
Cost-Effective: Avoid expensive tile removal and labor
Easy Maintenance: Creates a sealed, easy-to-clean surface
Ideal for Rentals: No permanent modifications needed
Minimally Invasive: No mess, no debris, no construction

Common Mistakes to Avoid
Skipping the cleaning process
Not letting sealants dry fully before use
Using poor-quality products
Ignoring wall-to-floor joints
Applying sealant unevenly or too thin
Always follow the instructions on the product label and ensure proper ventilation when using chemical-based materials.
Aftercare and Maintenance Tips
Reapply grout sealer every 6–12 months
Wipe water off the floor regularly
Avoid harsh chemicals that can break down sealants
Check for cracks or gaps every few months
Clean with pH-neutral cleaners
Knowing how to waterproof a bathroom floor without removing tiles empowers you to protect your home without expensive renovations. With the right materials, some basic tools, and a little DIY effort, you can create a fully waterproofed bathroom floor that stands up to daily moisture—and looks great doing it.
Whether you’re a homeowner or a renter, waterproofing your bathroom the smart way means peace of mind, cleaner surfaces, and fewer repair bills.